This is the guide I wish someone had handed me when I started. Not a vague "support ethical suppliers" paragraph buried at the end of a forum post — an actual breakdown of what to look for, what to avoid, what to buy first, and how to store everything while you figure out the rest.
If you're brand new to pinning insects, you're about to find out that sourcing your specimens is half the skill. The other half is the actual pinning, and I'll cover that elsewhere. But you can't pin what you don't have, and you can't display what you ruined by buying from the wrong place. So we start here.
Why Sourcing Matters
Let's get something out of the way first: not all insect specimens are created equal, and not all of them were sourced in a way you want to be connected to.
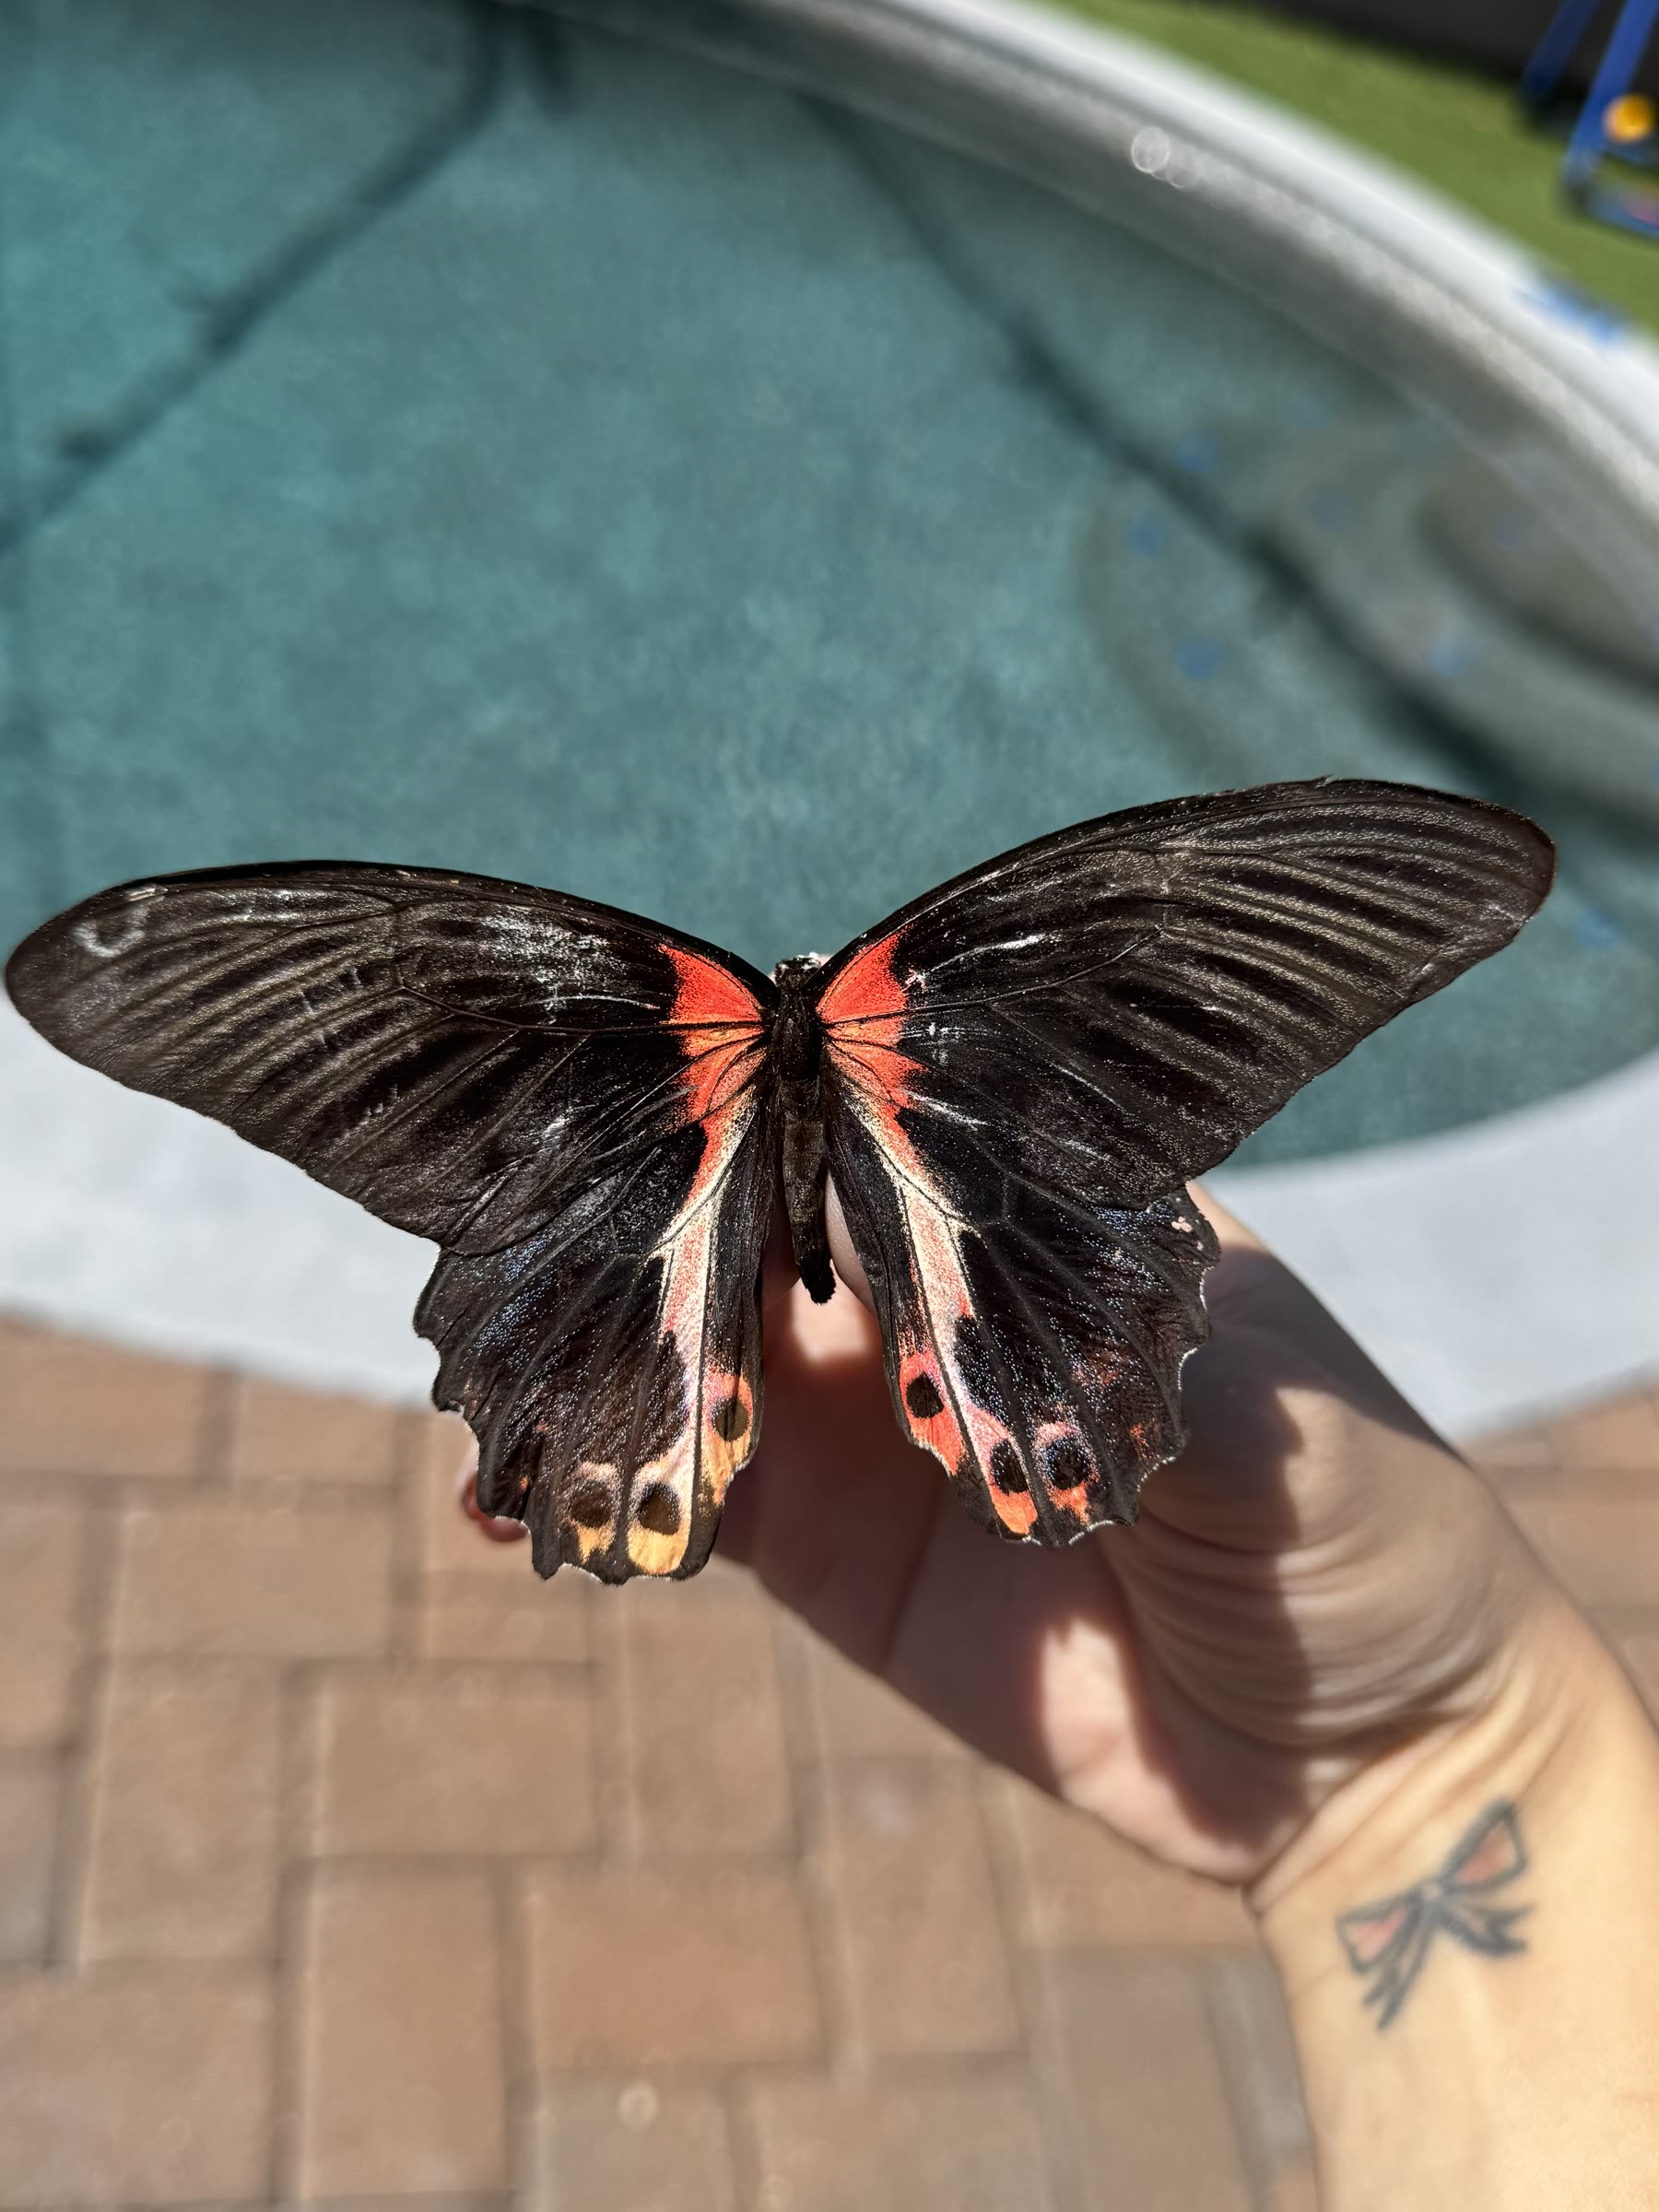
There are two broad categories in the specimen world: sustainably farmed and wild-caught. Sustainably farmed specimens come from butterfly farms and insectaries — mostly in Southeast Asia, Central America, and parts of Africa — where butterflies are bred in controlled environments, allowed to live out their natural lifespan, and collected after death. These farms employ local communities, support rainforest conservation, and often have export permits that make the trade completely legal. This is what I source. This is what I recommend.
Wild-caught is different. Wild-caught means someone went into a habitat and netted butterflies directly from the wild population. For some common, highly adaptable species in controlled locations this can be fine — entomologists do it for research all the time — but in the commercial specimen trade, especially at the cheap end of the market, wild-caught often means mass collection with no oversight, in biodiversity hotspots, with no concern for local population health. When you don't know the source, you don't know what you're funding.
There's also a legal layer here. Species listed under CITES (the Convention on International Trade in Endangered Species) require documentation for legal import and sale. Most sellers don't mention this. Most buyers don't ask. But if you're building a serious collection — and especially if you ever want to display, sell, or exhibit your work publicly — you want clean provenance from the start. Sustainably farmed specimens from reputable dealers come with this. Random cheap bulk lots usually don't.
Beyond the ethics, farmed specimens are also just better. They're handled carefully from the start. They arrive in better condition. They're graded honestly. You get what you pay for, and when you're just learning to spread, the last thing you need is a brittle, poorly stored specimen that falls apart the moment you touch it.
Understanding Quality Grades
When you start shopping for specimens, you'll see grades like A1, A1-, and A2. These matter. Here's what they actually mean and what you should expect to pay.
A1 — Museum quality. A perfect specimen with no visible damage — wings fully intact with no tears, no scale loss, no fading, antennae complete, all legs present. Color vivid and true to species. For common tropical species like Blue Morphos or Graphium, expect $8–20 per specimen papered, more spread. Rarer species: $30–80+.
A1- — The sweet spot for beginners. Excellent quality with very minor imperfections — a single missing antenna tip, one or two tiny scale rubs, a slight crease that won't be visible once spread. Typically 15–30% less than A1 pricing. I'd rather buy five A1- specimens than three A1s when practicing.
A2 — Practice and art grade. Visibly damaged — torn wing, missing legs, significant fading, or scale loss. Perfectly usable for practice or art where the damage won't show. Pricing: usually 50–70% of the A1 price for the same species. Great for learning the spreading process without the anxiety of ruining a nice specimen.
You'll also see two formats: papered and spread.
Papered specimens have their wings folded closed and wrapped in glassine for transport. You relax them, then spread them yourself. Cheaper. Fresher. This is where the skill lives — buy mostly papered when you're learning.
Spread specimens are already pinned, spread, and dried. Ready for a shadowbox with no additional work. Cost more because of the labor. Buying one or two spread specimens in good condition is a great way to see what you're aiming for.
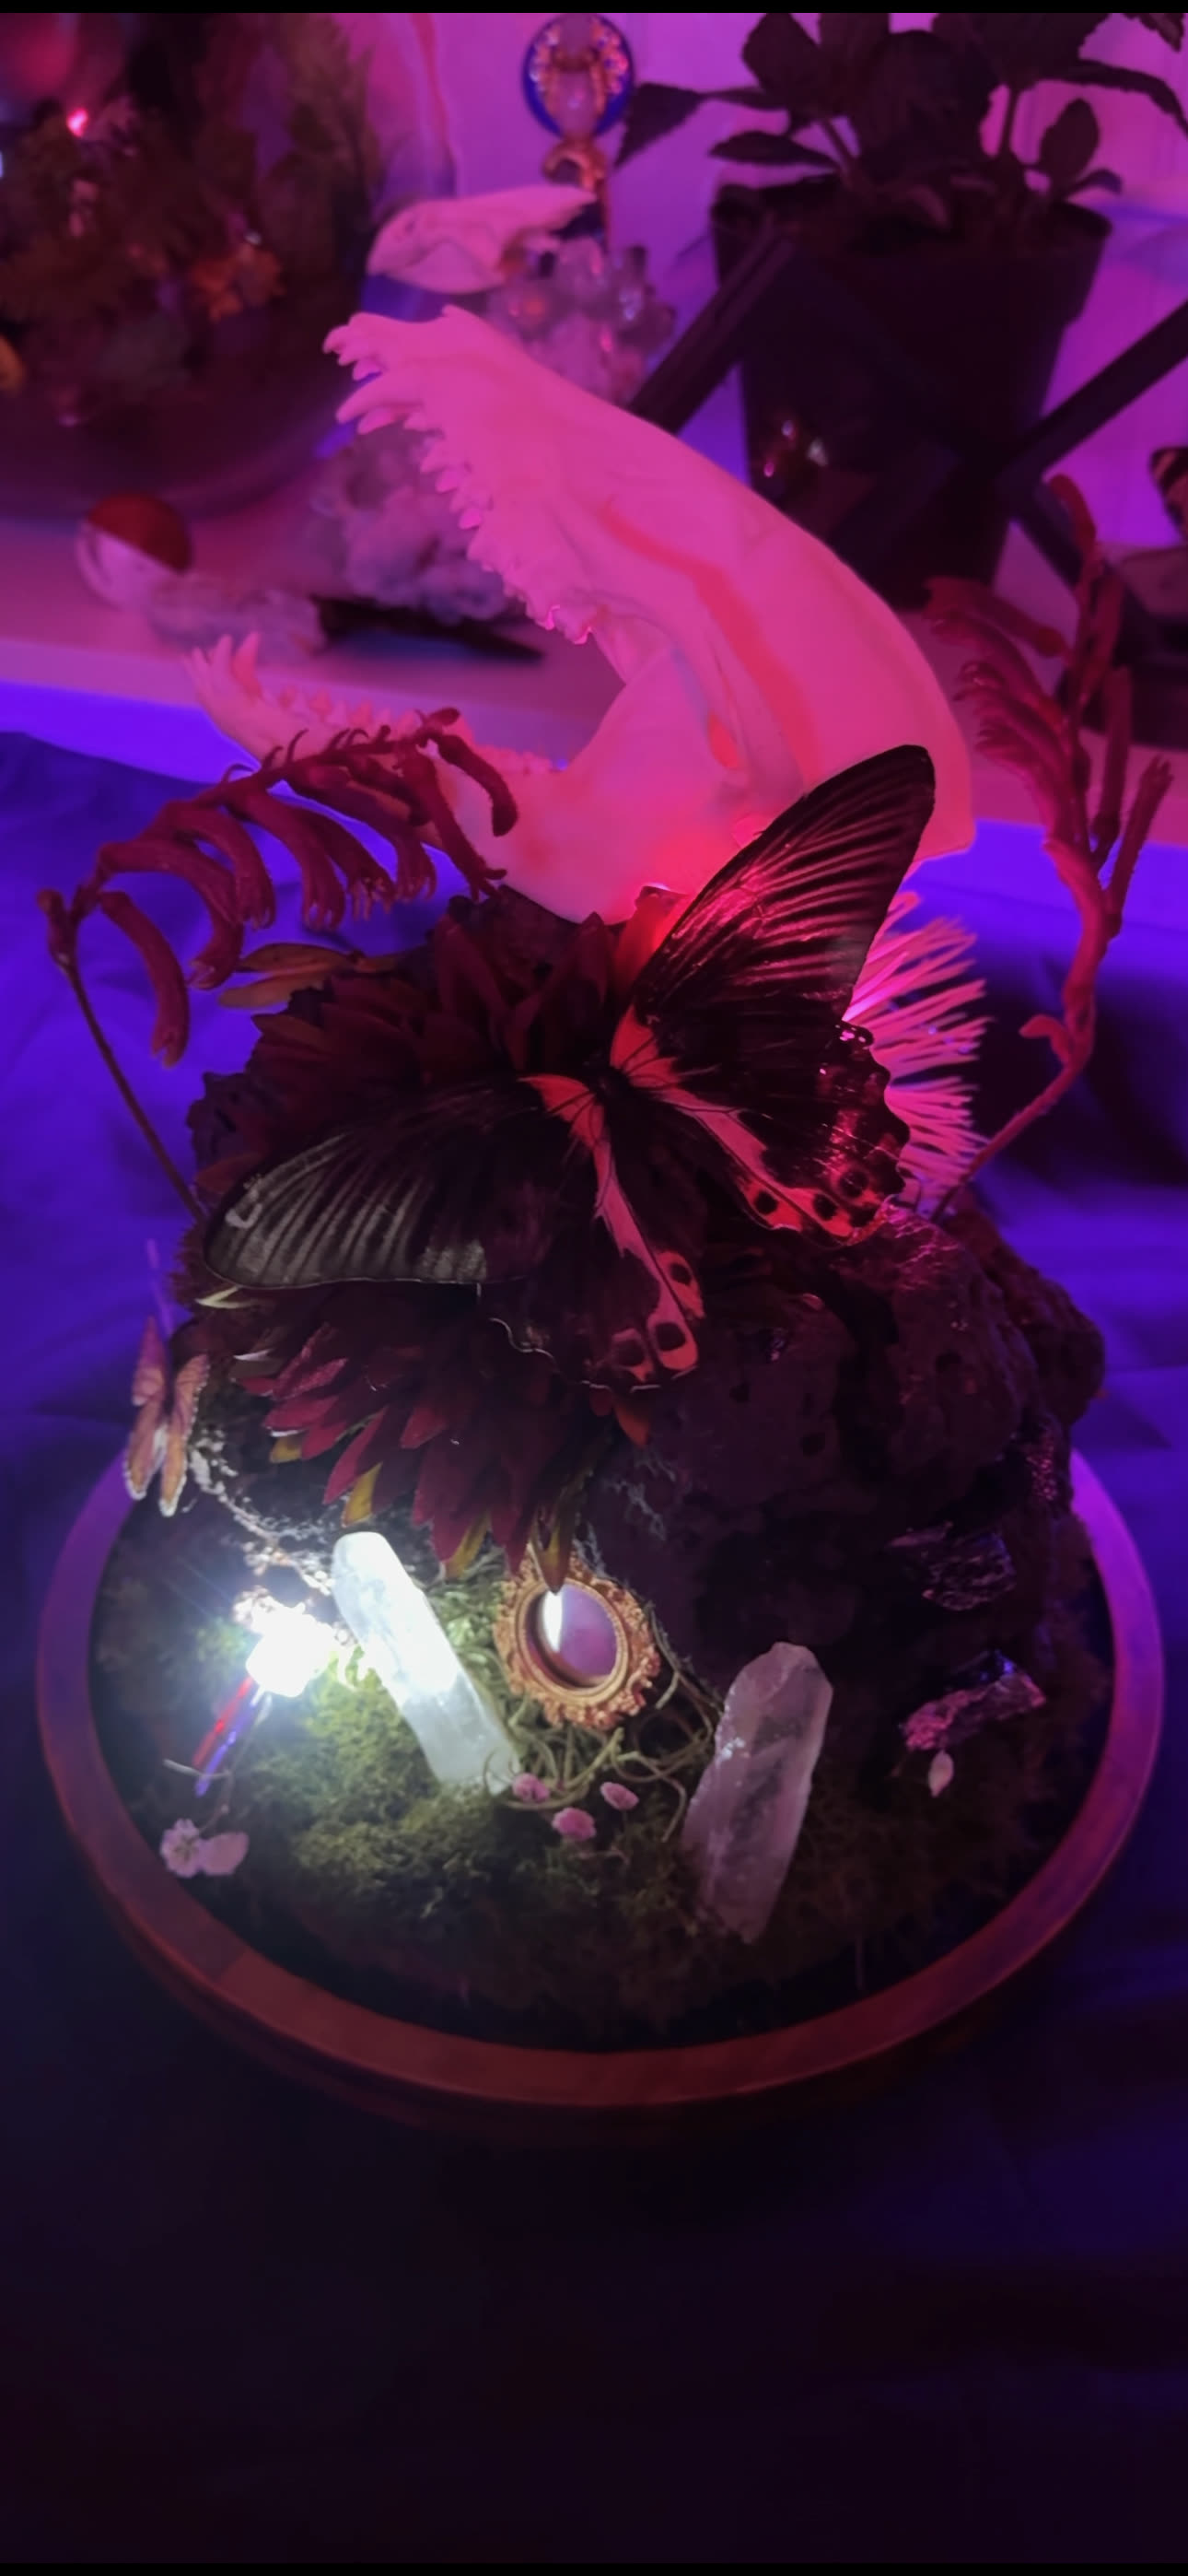
“A good specimen from a good source is worth more than three bad ones from a cheap one.”
Trusted Supplier Types
Here's what trustworthy suppliers actually look like — and the ones I'd point a beginner to right now.
Butterfly farms and insectaries are the best possible source. These are operations that breed lepidoptera in enclosed facilities — often in Malaysia, Indonesia, Ecuador, or Costa Rica — and supply to collectors, museums, and schools. What you'll see from a real farm: clear species labeling with full scientific names, explicit mention of captive-bred status, export documentation or CITES compliance mention, and pricing that reflects actual rarity. You can usually find their name associated with museum partnerships or entomological societies.
Entomological supply companies are specialty retailers that source from farms and resell to hobbyists, educators, and researchers. The equivalent of a good camera store. Good suppliers grade rigorously, describe condition honestly, disclose locality data when they have it, and have customer service that actually responds. Many have been in business 20+ years and often carry pinning supplies too.
eBay and Etsy sellers can be excellent or terrible within the same search page. Good ones: full scientific name in the listing, honest grading, photos of the actual specimen, clear farm-raised origin statement, 50+ feedback history, knowledgeable responses. A good small-scale seller often has years of expertise, reasonable prices, and cares about their reputation.
Regardless of where you buy, the minimum information you should have for any specimen: the full scientific name, the country of origin, and whether it's farm-raised or wild-caught. If a seller can't or won't answer those questions, move on.
Suppliers we recommend
Bugs Direct — a well-established UK-based supplier with a wide species selection, honest grading, and consistent quality. Ships internationally. Their website is clean, their listings include scientific names and condition details, and they've been a reliable source in the collector community for years. Good for European and Asian species.
The Butterfly Company — one of the most trusted names in the US market. Farm-raised, ethically sourced, extensive species catalog. Their grading is accurate, their packing is excellent, and they've been in business long enough to have a track record worth trusting. A strong first choice for US buyers.
Pretty Dead Things — that's us. We'll be selling sustainably sourced butterflies and moths soon — the same quality we use in our classes and teach with in this curriculum. When we open the shop, every specimen will be farm-raised, honestly graded, and sourced the way this guide describes. Get on the list to hear first.
Red Flags in Listings
I've bought from bad sellers so you don't have to. Here's what they look like before you've spent money.
Common-name-only listings. "Tropical butterfly," "blue butterfly," "exotic moth." No scientific name means no accountability. Any seller worth buying from knows exactly what species they have.
Suspiciously low prices on large lots. Genuine A1 tropical butterflies cost what they cost. "50 A1 Blue Morphos for $40 shipped" means something is wrong — false grade claims, mislabeled species, wild-caught with no oversight, or condition nothing like the listing photos.
Stock photos instead of actual specimen photos. Any legitimate seller photographs the actual specimens they're selling. If every listing uses the same beautiful stock image, you have no idea what you're actually getting.
Vague or evasive sourcing answers. Ask: "Is this farm-raised or wild-caught?" A good seller answers immediately. Red flags: "naturally collected" (means wild-caught, softened), "from a private collection" (tells you nothing), or no response.
No mention of packing method or shipping conditions. Good sellers are proud of how carefully they pack. Sellers who say nothing about packing often aren't packing carefully.
CITES-regulated species with no documentation offer. Certain large, showy species — many birdwings, protected US species — require permits for legal commercial sale. If someone is selling Ornithoptera without any mention of permits, that's a legal problem you don't want to be part of.
New account, lots of specimens, low prices, high pressure. The classic combination for a flip seller or someone moving wild-caught stock. Check account age and feedback before you buy anything.
Facebook Marketplace and random social sellers. Facebook Marketplace is not a specimen marketplace. The same goes for random Instagram DMs, TikTok shop links from accounts you've never heard of, and sellers who only communicate through social media. No accountability, no paper trail, no recourse if what arrives is garbage. Skip it entirely.
Websites that feel difficult to navigate or checkout through. Legitimate specimen suppliers have functional, professional websites. If the site looks abandoned, is hard to search, has no clear return or shipping policy, or routes you through a sketchy third-party checkout — that's a red flag. A seller who can't maintain a basic website is unlikely to maintain their specimens.
PayPal Friends & Family as the only payment option. This removes all buyer protection. Any seller who insists on F&F or refuses to accept standard payment is structuring the transaction so you have no recourse if things go wrong. Walk away.
What to Buy First
Not all species are equal for beginners. Some butterflies are forgiving — big wings, flexible, easy to read. Others are fragile or have structural quirks that will make your first spreading sessions miserable. Start with the forgiving ones.
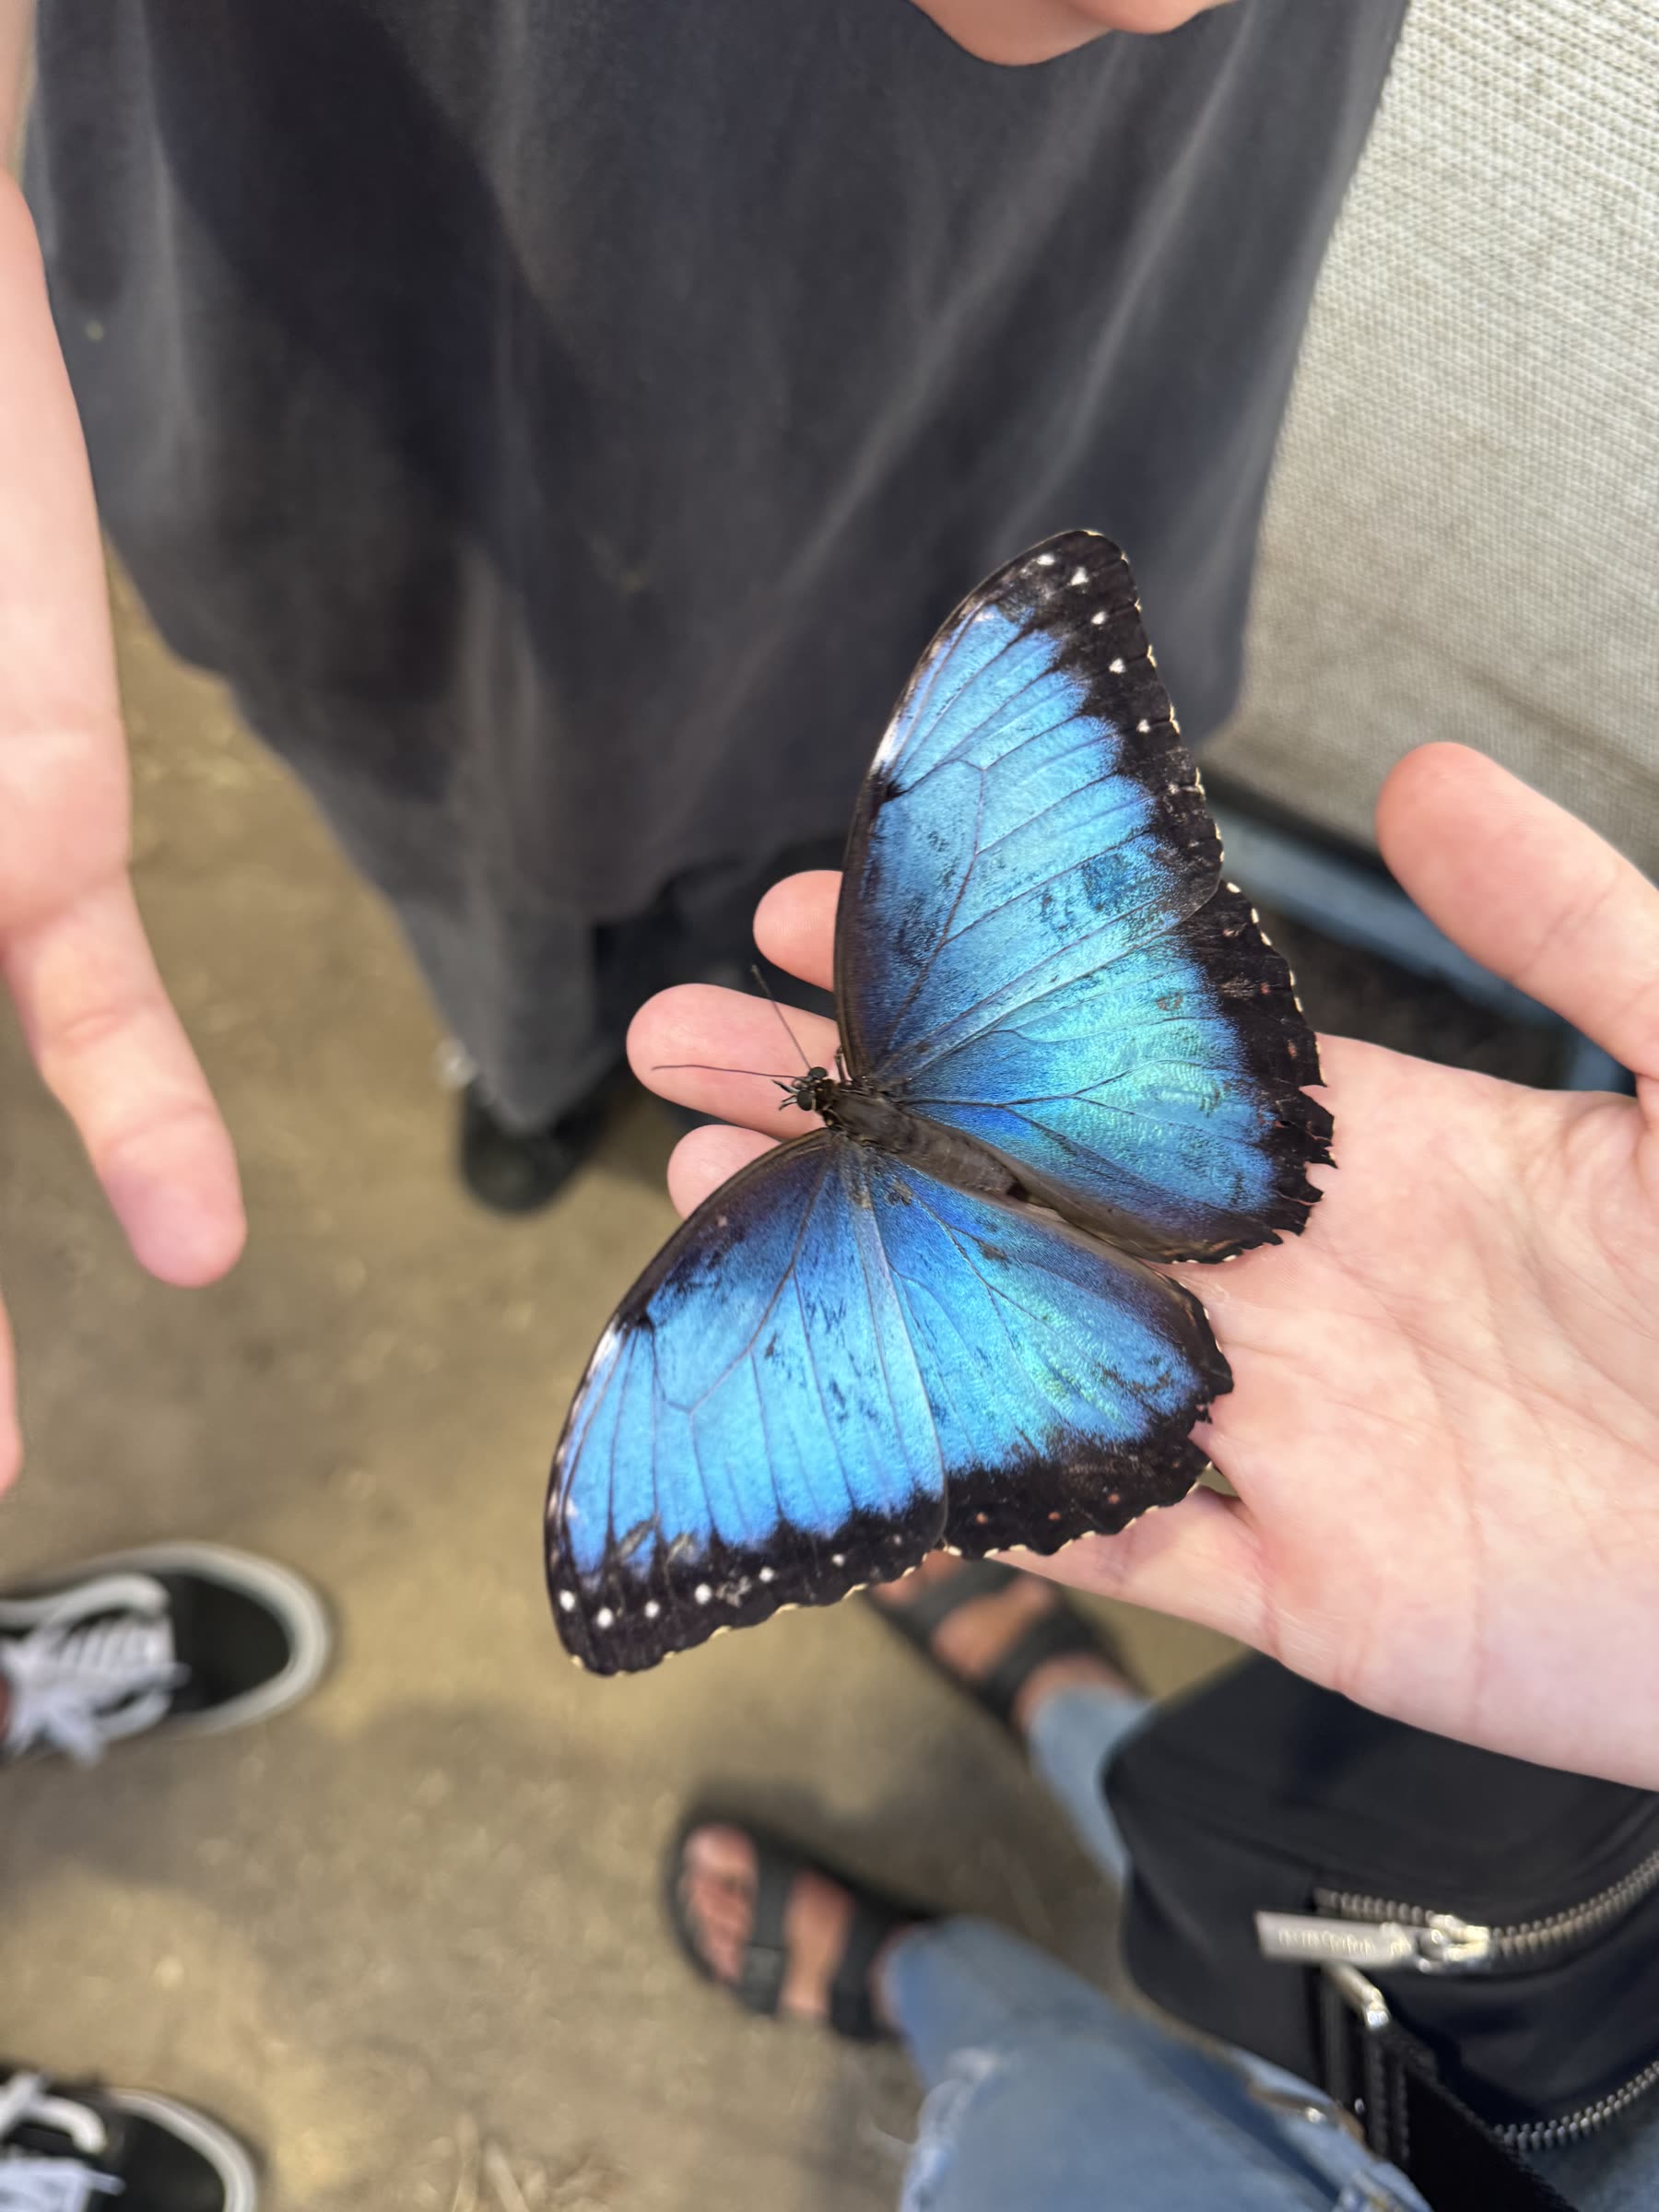
Blue Morpho (Morpho peleides or Morpho helenor) — the beginner's best friend. Large wingspan (5–8 inches), stiff enough to handle, and the metallic blue iridescence means even a slightly imperfect spread still looks incredible. Farmed in huge numbers in Central and South America. Expect $8–15 each papered for A1. If you only buy one species to learn on, make it a Morpho.
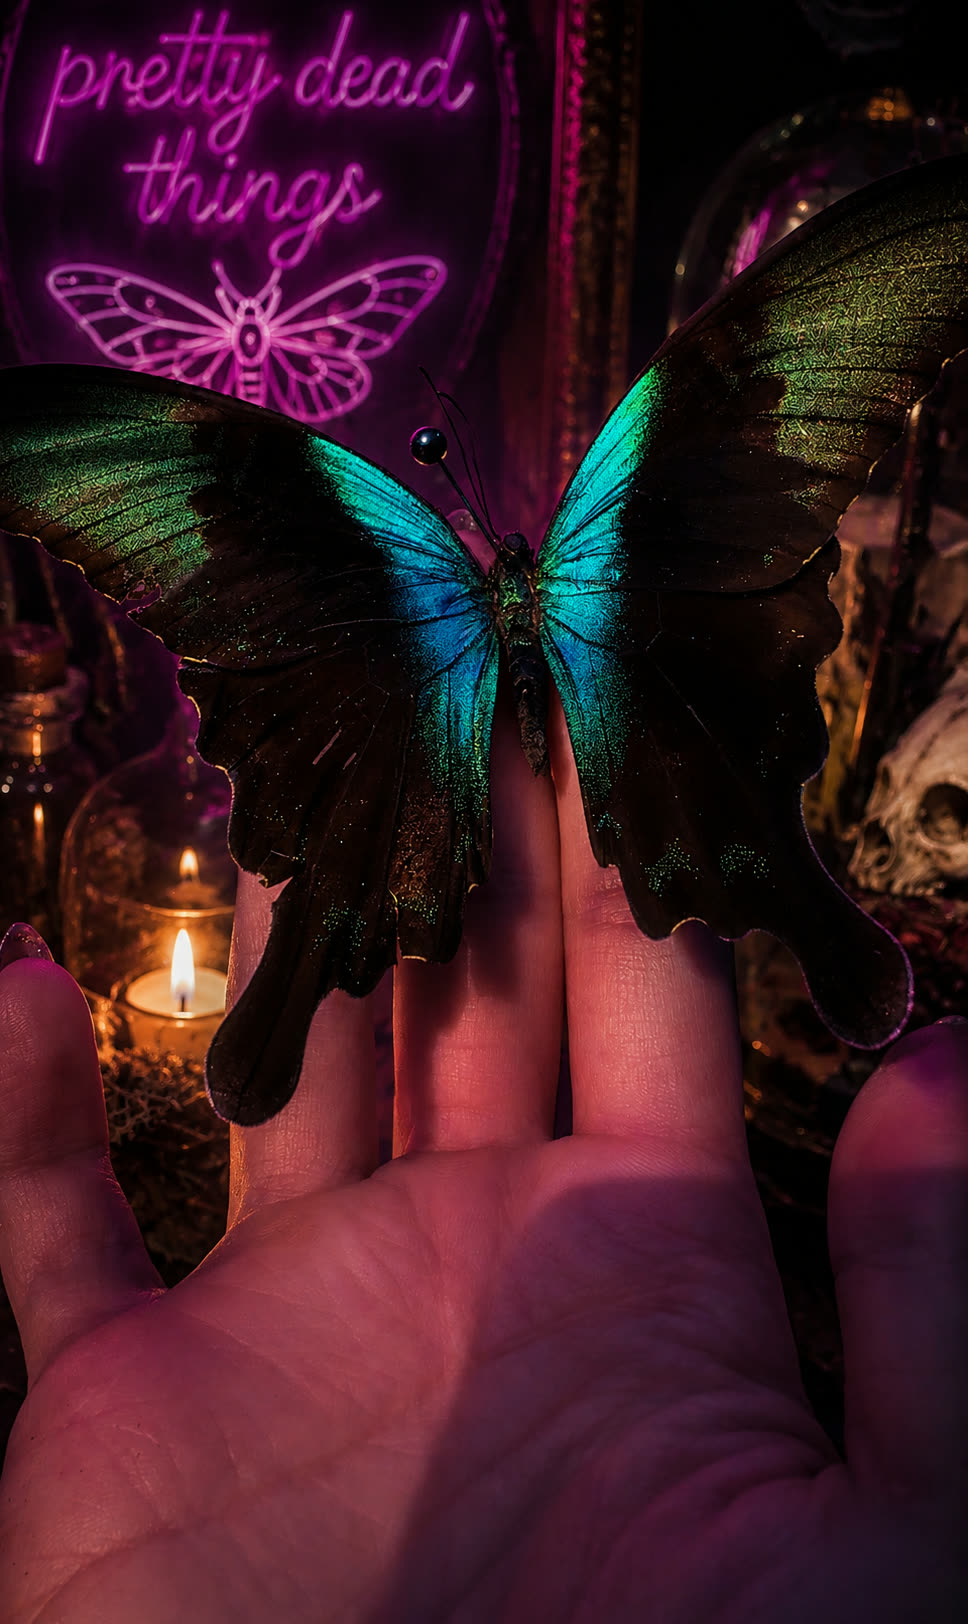
Graphium sarpedon (Common Bluebottle) — a medium-sized Asian swallowtail with distinctive teal-blue bands across dark wings. Widely farmed in Malaysia and Indonesia, usually $5–10 papered. The wing shape is distinctive enough that you'll know immediately if something's off with your spread — great teacher.
Papilio species generally — Papilio ulysses (electric blue, from Australia/Papua New Guinea) is $10–20 papered for A1 and stunningly vivid. Common US Papilio species like the Eastern Tiger Swallowtail are available from domestic suppliers at $5–12 each. The entire Papilio genus tends to be beginner-friendly.
Cecropia Moth (Hyalophora cecropia) — if you want moths: North America's largest native moth. Rusty red and cream banding, wingspan up to 7 inches. Available from domestic breeders at $10–35. No import questions. Thick-bodied and large-winged. Other great US moths for beginners: Luna Moth and Polyphemus Moth — all widely farmed domestically.
What to avoid first: very small species, species with extremely long fragile tails, anything listed as "rare" or "limited" until you've built your spreading skills. Save the expensive and delicate stuff for when you have a few successful spreads under your belt.
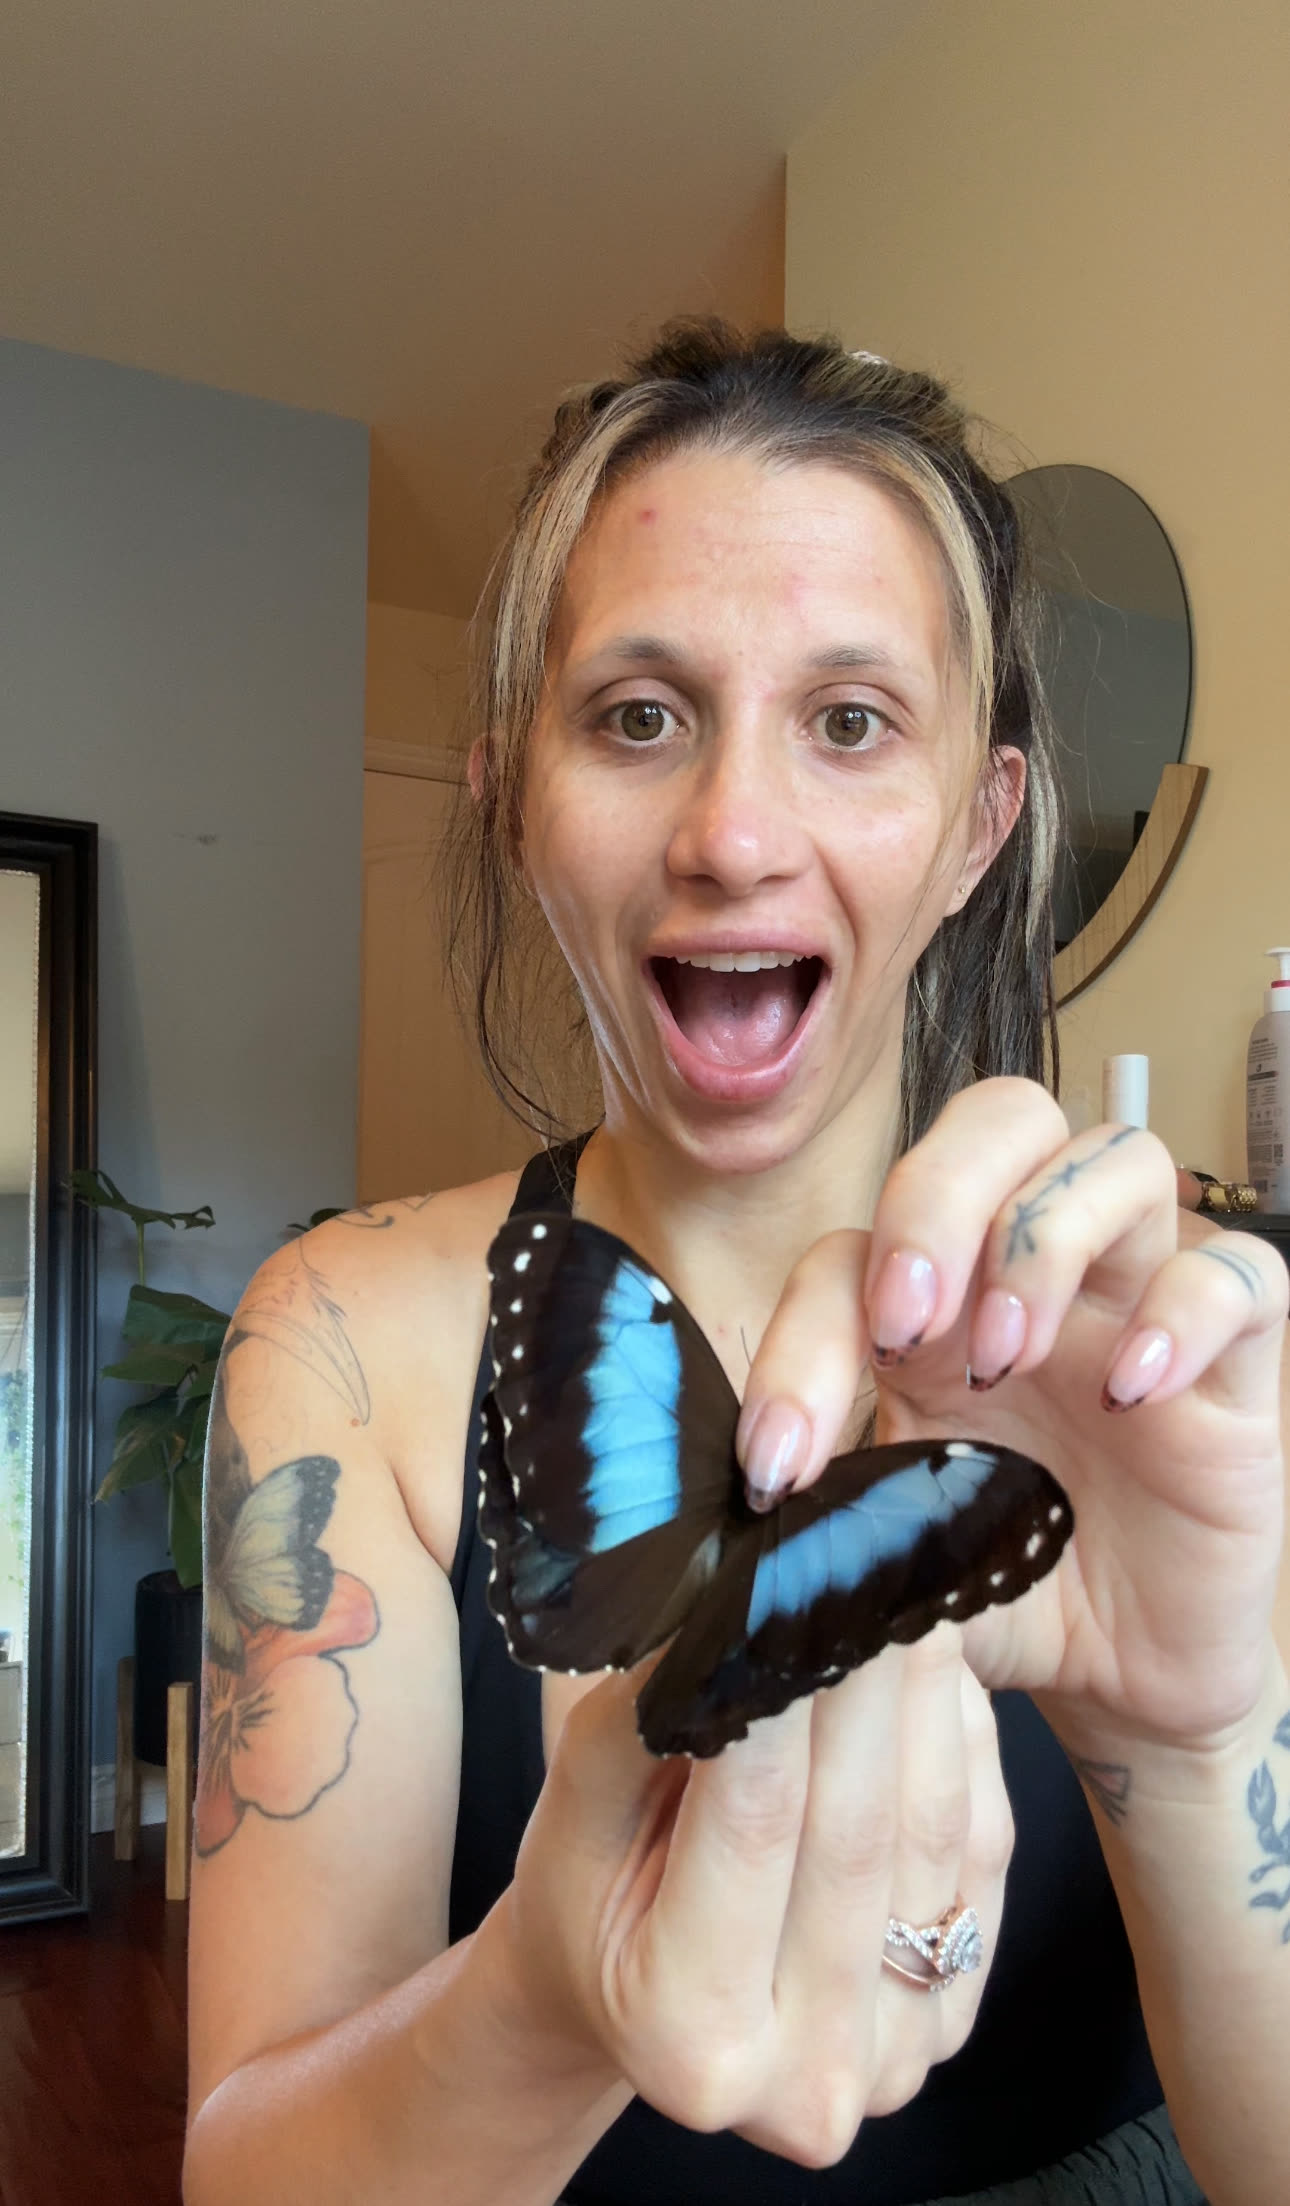
“You learn more from actually working with specimens than from studying buying guides — including this one.”
Storage Before Pinning
Most beginners buy specimens before they're ready to pin them. That's fine — but how you store them in the meantime matters.
Papered specimens in glassine are designed for exactly this situation. A properly papered specimen in a sealed glassine envelope, stored in a cool, dry, dark location, will stay in good condition for months. The key threats: humidity (causes mold), heat (accelerates drying and brittleness), light (fades colors), and pests. Keep them in a sealed container — a plastic storage box with a tight lid — away from direct light and temperature swings.
The freezer is your friend for anything you're storing longer than a few weeks. Specimens stored at room temperature can be vulnerable to museum beetles, dermestid larvae, and mites that will wreck a collection quietly. Storing papered specimens in the freezer — sealed in a zip bag inside a container — essentially pauses the clock. Pull them out, let them come to room temperature before opening the glassine (to avoid condensation on the specimen), then proceed with relaxing and spreading.
How long do they keep? Papered specimens stored properly in a freezer will hold for years without significant degradation. Room temperature with a desiccant pack in a sealed container: comfortably 6–12 months for most species. Already-spread specimens should be stored in a sealed box or display case with a pesticide strip to deter pests.
One rule: check your storage every few weeks when you're starting out. Open the container. Look for any sign of mold, insect activity, or damage. Catching a problem early saves everything else in the container.
Building a Collection the Right Way
The biggest mistake I see beginners make is buying too much, too fast, before they know what they like or what they're doing. You end up with forty specimens you can't spread, stored in a box, gathering anxiety.
Start small and specific. Buy five specimens. Spread them. See what you liked about the process, what frustrated you, what you want to do more of. Then buy five more. You learn more from actually working with specimens than from studying buying guides — including this one.
Diversify your species slowly. Once you're comfortable spreading, deliberately branch out. If you started with Morphos, try a Papilio. If you've only done butterflies, try a large moth. Every new species teaches you something. A collection with variety is more interesting to look at and work with.
Keep records from the beginning. Even a simple spreadsheet works: species name, supplier, grade purchased, date received, date spread, any notes on condition or difficulty. Once your collection grows past twenty or thirty specimens, you'll be grateful you have it.
Label every specimen. The minimum: scientific name, country of origin, date. If you have it, add supplier and wild-caught or farm-raised. A specimen without data is just a pretty object. A labeled specimen is part of a real collection.
Collections built slowly, from good sources, with careful records — those are the ones worth having. Take your time. Buy well. This part of the hobby rewards patience more than speed.
Start small and specific. Buy five specimens. Spread them. See what you liked about the process, what frustrated you, what you want to do more of. Then buy five more.
Your Complete Beginner Kit
This is the part most guides skip or bury. You have specimens on the way — now you need to actually pin them. Here is every tool required, what it's for, and exactly where to get it affordably. Nothing on this list is optional except where I say so.
Total budget, buying everything new: $40–70 for a solid setup. If you already own a Tupperware container and rubbing alcohol, you can start for closer to $25–35 — just pins, a spreading board, glassine, and entomology tweezers.
The non-negotiables — buy these
Insect pins — stainless steel, assorted sizes. The single most important purchase. Do not substitute sewing pins or regular needles — they're the wrong diameter and they rust, which will stain and destroy your specimen over time. You want stainless steel entomological pins in sizes 1, 2, and 3 minimum. Sizes 0 and 4 are useful later but not essential at the start.
What to buy: WILLBOND 500-Piece Stainless Steel Insect Pins, 5 Sizes — ~$10–14 on Amazon. 500 pins will last you a long time. The 5-size variety pack means you have what you need for butterflies, moths, and smaller insects without a second order. This is one of the most consistently recommended pins on every beginner forum and Reddit thread, and the price is genuinely good for what you get.
Spreading board. A flat foam or balsa board with a center groove that holds the body of your specimen while the wings dry flat. Without this, you can't spread — there's no way around it. The groove width matters: for most butterflies and moths, a board with an adjustable groove (or multiple groove sizes) covers you for different species. Look for a board that's at least 11" x 6" so you have room for larger specimens like Morphos.
What to buy: Adjustable Labs EVA Foam Spreading Board (11.8" × 6.7") — ~$9–13 on Amazon. Comes with wings pressing paper included. EVA foam holds pins well without them wobbling, and the size handles everything from Graphium to large Morphos. If you want to go one level up in quality, a balsa wood board from Etsy entomology sellers or a specialty supply site is worth it when you're ready — but the foam board is a completely legitimate starting point.
Relaxing chamber. Papered specimens arrive dried and need to be rehydrated before you spread them — dry wings crack the instant you try to move them. A relaxing chamber reintroduces moisture slowly and evenly until the specimen is flexible again (usually 24–48 hours for most butterflies).
Free DIY version (works perfectly): Any airtight container with a lid — a large Tupperware, a plastic storage tote, even a gallon zip bag works. Line the bottom with a damp paper towel, add a few drops of rubbing alcohol (prevents mold), then place a small raised platform inside (a piece of cardboard, a foam scrap, a small lid) so your specimens sit above the wet surface. Seal it. Done. This costs nothing if you have Tupperware and rubbing alcohol at home.
Spreading strips. Thin strips of paper you lay across the wings and pin down to hold them flat while they dry. Without these, the wing edges curl up as the specimen dries and you're stuck with a bad spread.
What to use: Sheets of glassine paper — the same translucent paper specimens are often stored in. It won't stick to wing scales and lays flat without shifting. Available on Amazon in packs for a few dollars. Tracing paper, wax paper, or parchment will work in a pinch, but they're not ideal — glassine is the right material and it's cheap enough that there's no reason to compromise.
Soft-tipped entomology tweezers. For positioning wings, nudging antennae into place, and handling specimens without transferring oils from your fingers onto delicate scales. Get actual entomology tweezers — the softer, pointed tips are designed not to damage wing scales or puncture specimens. Amazon has inexpensive tweezer kits made for insect pinning in the $8–15 range; search entomology forceps tweezers kit and sort by rating. Avoid anything with serrated or ridged tips.
Small soft paintbrush or cotton swabs. For coaxing antennae and wing edges into position without touching them directly. Any small watercolor brush or craft brush works — size 0 or 1 from any craft store. Q-tips are a perfectly good substitute for nudging things gently. Under $3 at Michaels, or use what you already have.
Nice to have — not required day one
Pinning block. A small layered foam block that standardizes pin height across your collection so every specimen sits at the same level in a display. Not essential for your first few spreads, but nice once you're building a cohesive display. $5–10 on Amazon or make your own from foam scraps.
Display case or shadowbox. Where your finished specimen lives once it's fully dried (1–3 weeks depending on species and humidity). You need at least 1.5" of interior depth — standard shadow boxes are often too shallow. IKEA SANNAHED frames ($5–8) are the open secret of this hobby — deep-set, glass front, clean look, cheap. Michaels shadow boxes work too, especially with their 40–50% off coupons (they run them every week without fail). Measure depth before buying. Large moths need closer to 2".
Data labels. Optional — small printed or handwritten labels that go on the pin below the specimen. Minimum info if you use them: species name, country of origin, date. Print from any home printer on white cardstock cut into small rectangles. Worth doing once you start building a real collection, but not something to stress about on your first spread.
Pest deterrent for long-term storage. Optional but worth knowing about. Museum beetles and dermestid larvae can quietly damage an unprotected collection over time. A cedar block or mothball (kept away from direct specimen contact) in a sealed display case is the simplest option. Vapona pest strips are also used — they go in the corner of a sealed case, not touching specimens. Not something you need to think about on your first spread, but good to add once you're building a display you want to keep.
Where to buy
Amazon — fastest for basics. Search: WILLBOND insect pins 500 piece for pins, Adjustable Labs spreading board EVA foam for the board. Also look for all-in-one beginner kits in the $25–40 range if you'd rather not order separately — they include pins, board, forceps, and pressing paper in one box. Search insect pinning kit beginner and sort by rating.
Etsy — MJB and BicBugs — curated beginner kits assembled by people who actually do this every day. Slightly more than Amazon in some cases, but quality is noticeably better and you can ask them questions. MJB Starter Insect Pinning Kit is one of the most recommended beginner sets in the community.
Ecology Supplies & Educational Science — the go-to specialty suppliers for quality entomological equipment. Pins, spreading boards, forceps, and glassine at museum grade. Good strategy: start with Amazon basics, upgrade specific items to these once you know what you use most.
Michaels / Joann / IKEA / Dollar stores — Michaels for shadow boxes (always use the 40% off coupon), IKEA for SANNAHED frames, dollar stores for Tupperware and rubbing alcohol. Your craft store is underrated for everything except pins, glassine, tweezers, and the spreading board.
The only three things you genuinely cannot skip: proper insect pins, some kind of relaxing chamber (even a Tupperware), and a flat surface to spread on. Everything else is optimizable.
Your starter checklist
Before you spread your first specimen, you need:
- ✓Stainless steel insect pins — sizes 1, 2, 3 at minimum (WILLBOND 500-pc set covers all of this)
- ✓Spreading board with a center groove — EVA foam is fine to start
- ✓Relaxing chamber — a sealed Tupperware with a damp paper towel + a few drops of rubbing alcohol + a raised platform for your specimen works perfectly
- ✓Spreading strips — sheets of glassine paper (tracing paper or parchment in a pinch, not ideal)
- ✓Soft-tipped entomology tweezers — inexpensive kits on Amazon
- ✓Small soft paintbrush — any craft or watercolor brush, size 0–1
- ✓Good lighting — natural light or a bright desk lamp. You need to see what you're doing.
That's it. Everything else — display cases, pest deterrents, pinning blocks, fancier forceps — can wait until you've actually spread a few specimens and know what you like.